
How to Do an At-Home Manicure: A Step-by-Step Guide for Beginners
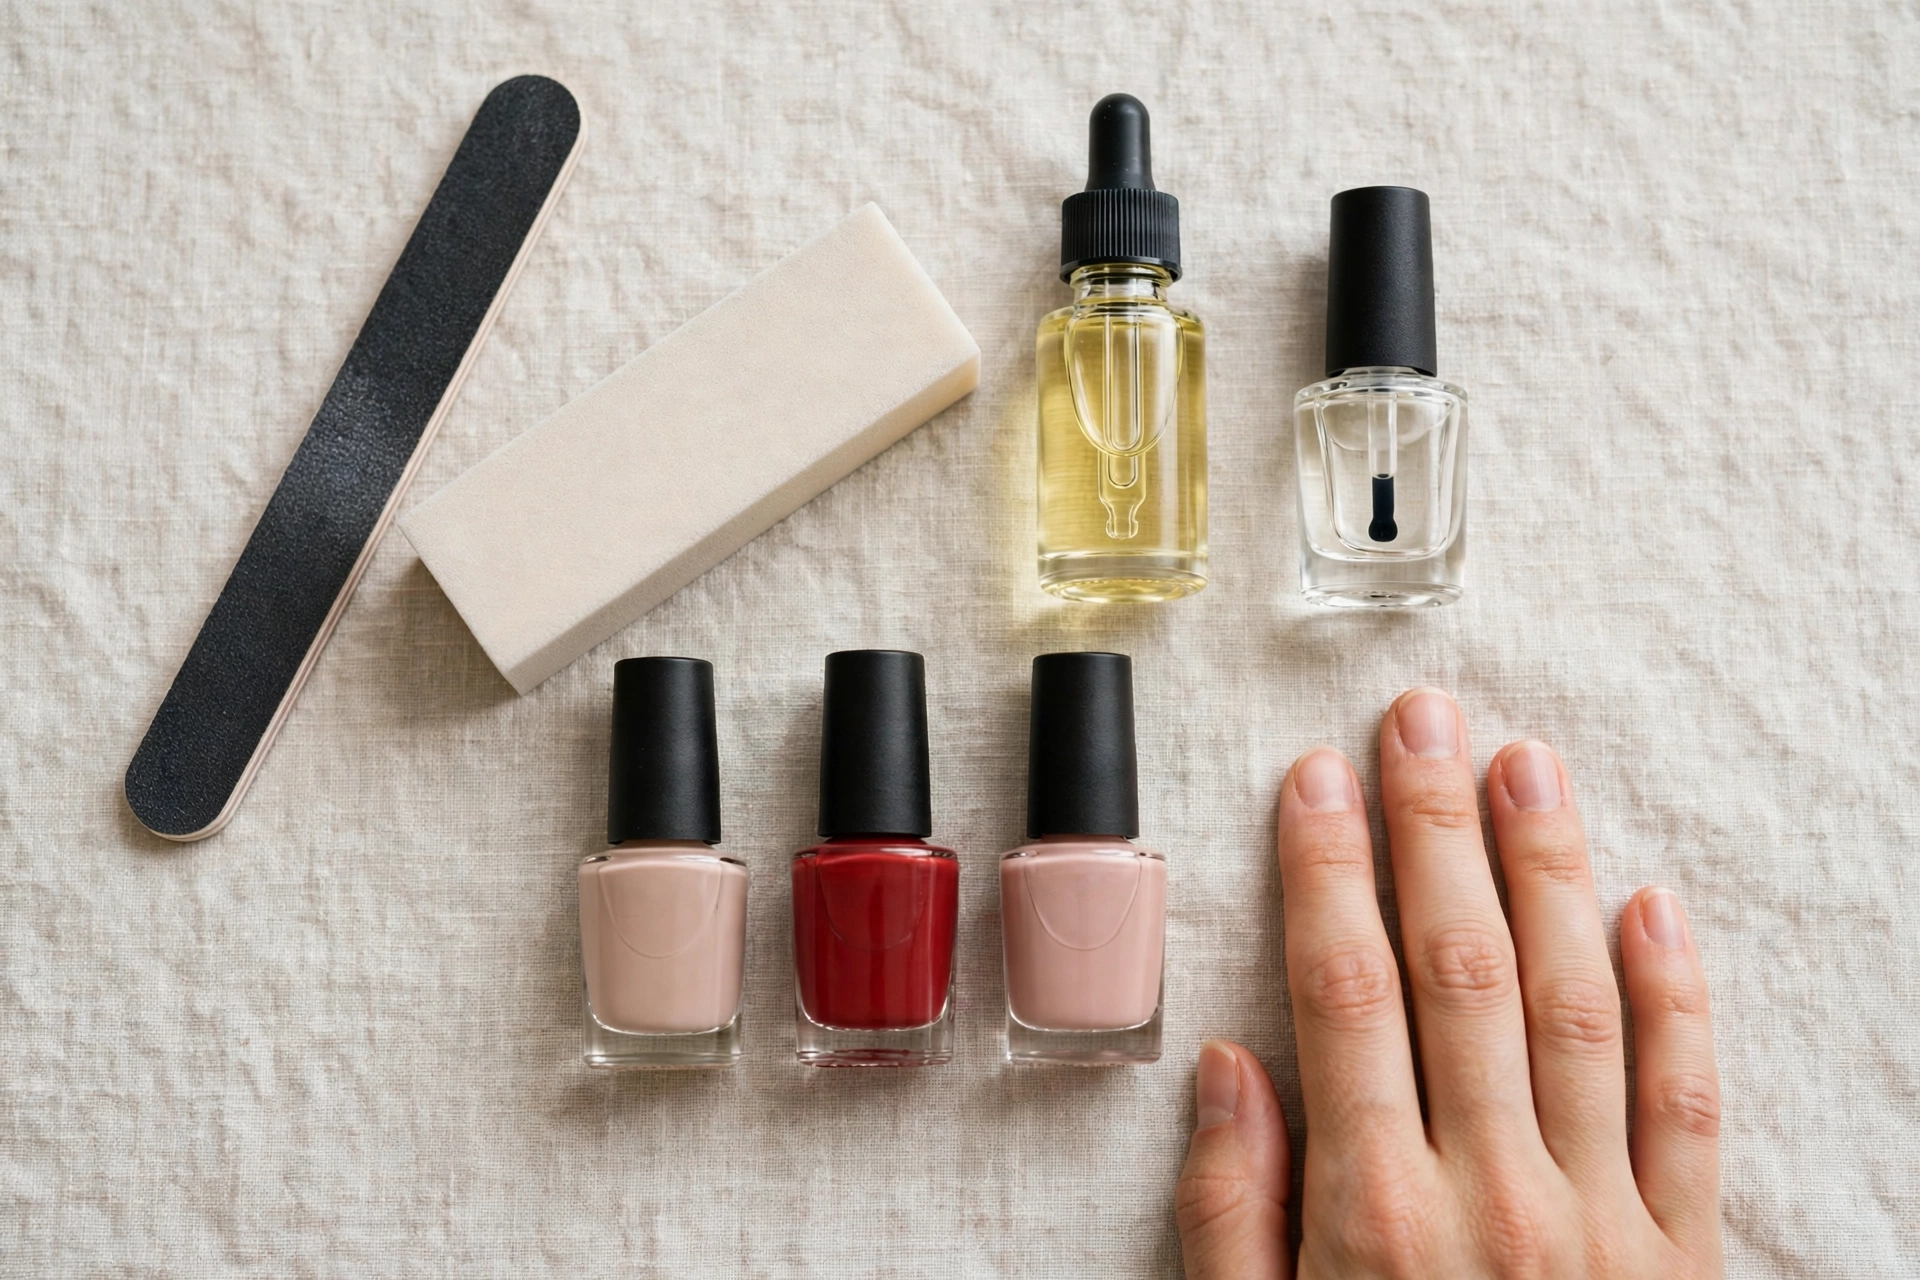
A good manicure does not need a salon chair. With a small kit, a little patience, and the right order of steps, you can do an at-home manicure that looks neat and lasts for days. This guide walks you through the whole process, from prep to polish, in plain steps a beginner can follow. You will learn what to buy, how to shape and care for your nails, how regular polish compares with gel polish at home, and how to make your manicure last.
What You Need: The Kit, on a Budget
You do not need a professional trolley of tools. A basic kit has about ten items, and most cost very little. Buy a ready-made starter kit, or build your kit piece by piece so you only pay for what you will use.
Here is the kit to gather before you begin:
- Nail file: a fine-grit emery board or glass file for shaping. Avoid coarse metal files, which can split the nail edge.
- Nail buffer: a four-sided buffer block to smooth ridges and add a soft shine.
- Cuticle pusher: a wooden orange stick or a metal pusher for gently pushing back cuticles.
- Cuticle oil: a small bottle to keep cuticles soft.
- Nail polish remover: acetone-free remover is gentler for regular use.
- Cotton pads or balls: for removing old polish and cleaning the nail plate.
- Base coat: a clear coat that protects the nail and helps polish stick.
- Nail polish: one or two colours you love. Start with an easy shade, such as a soft nude or a classic red.
- Top coat: a clear coat that seals the colour, adds shine, and slows down chipping.
- Hand cream: a rich cream to finish, massaged into hands and cuticles.
- A small bowl, warm water, and a towel: for a short soak that softens cuticles.
A starter kit from Boots, Superdrug, or a supermarket own-brand range usually costs about the same as one salon visit, and it lasts for many manicures. You do not need the most expensive brands. A good file, a decent base coat, and a reliable top coat matter far more than a luxury label. Our guide to affordable beauty dupes shows how to get high-end results at drugstore prices across your whole beauty routine.
Nail Care Routine: Prep Before Polish
Prep is the step most beginners skip, and it makes the biggest difference. Polish on a clean, smooth, well-shaped nail lasts longer and looks neater. Think of it like skincare: the order matters, and each step prepares the nail for the next one. Our skincare routine order for beginners follows the same idea for your face.
Start by removing any old polish. Soak a cotton pad in remover, press it on the nail for a few seconds, then wipe towards the tip. Next, wash your hands with soap and warm water, and dry them well.
Soak your fingertips in a small bowl of warm water for three to five minutes. This softens the cuticles so you can push them back without force. Pat your hands dry, then use the flat end of an orange stick to push each cuticle back gently. Never cut your cuticles. They protect the nail from germs, and cutting them can cause soreness and infection. If a hangnail is loose, trim only that piece with clean nippers.
Now shape the nails. File in one direction, from the side towards the centre, with light strokes. A sawing motion weakens the nail edge and causes splitting. Check the shape as you go. Use the buffer lightly to smooth ridges, but do not over-buff. Two or three gentle passes are enough. Buffing too hard thins the nail and makes it weak.
Finish prep by wiping each nail with a cotton pad dampened with remover. This removes oil and dust. Polish sticks best to a clean, dry nail plate, so do not apply hand cream before polish. Save the cream for the end.
Step by Step: The At-Home Manicure
Once your nails are prepped, the manicure itself is simple. Work through these steps in order, and let each coat dry before you add the next. Rushing between coats is the most common reason a home manicure smudges.
- Clean the nail plate. Wipe each nail with remover on a cotton pad to remove oil. Start with completely clean, dry nails.
- Apply the base coat. Brush on one thin layer and let it dry for two minutes. Base coat stops dark colours from staining the nail, and it helps polish grip.
- Apply the first coat of colour. Use three strokes: one down the centre, then one on each side. Keep the coats thin, because thick coats dry slowly and chip sooner. Leave a tiny gap between the polish and the cuticle so the colour does not flood the skin.
- Let it dry. Wait at least two minutes before the next coat. If you can see the brush strokes clearly, the coat is too thick. Thin coats dry faster and look smoother.
- Apply the second coat of colour. A second thin coat gives full, even colour. Very pale or sheer shades may need a third.
- Clean up the edges. Dip an orange stick wrapped in cotton, or a small brush, in remover. Wipe away any polish that touched the skin. This tidy-up step makes a home manicure look professional.
- Apply the top coat. Brush one thin layer over the whole nail, and cap the free edge by running the brush lightly along the tip. Capping the tip seals the polish and slows chipping.
- Let it dry fully. Leave your nails alone for at least 15 minutes. Avoid hot water, tight pockets, and phone screens while the polish sets.
- Apply cuticle oil. Once the polish is fully dry, rub a drop into each cuticle. It keeps the skin soft and gives the manicure a finished look.
- Moisturise your hands. Massage hand cream into your hands and wrists. This final step makes the whole manicure feel like a salon treat.
If you make a mistake, do not start over. Fix a small smudge with a drop of remover on a cotton bud, or smooth a little more top coat over the area. If the polish is badly dented while wet, remove it from that one nail and repaint it. You only need to redo one nail, not all ten.
Gel vs Regular Polish at Home
Regular polish and gel polish both work at home, but they suit different people. Regular polish is the best place to start. It needs no special equipment, it dries in the air, and it comes off easily with ordinary remover. The trade-off is wear time: a regular polish manicure usually lasts five to seven days before it starts to chip.
Gel polish lasts longer, typically two to three weeks without chipping. It needs a UV or LED lamp to cure each coat, plus a gel base coat and a gel top coat. The lamp is a one-off purchase, and gel polish costs more per bottle. Removal takes longer too. Soak the nails in acetone for ten to fifteen minutes, then gently push the softened gel off. Peeling gel polish off by force pulls layers from the natural nail, so never do it.
For a first at-home manicure, start with regular polish. Learn the prep, the shaping, and the thin-coat habit first. Once you can do a neat regular manicure, decide whether gel is worth the extra kit and removal time. If you try gel at home, follow the lamp and product instructions exactly, keep the polish off your skin, and give your nails a break between gel sets.
Nail Shapes Explained: Almond, Square, Oval, Coffin
Nail shape changes the whole look of a manicure, and it is easier to get right than most beginners think. Choose a shape that suits your nail length and your daily life, then file towards it a little at a time. You can always file more, but you cannot add length back.
Almond: The nail tapers to a soft, rounded point. It makes fingers look longer and suits medium to long nails. File the sides at a slight angle towards the centre, then round the tip. Almond nails can catch on things, so they suit people who do not do heavy manual work.
Square: The tip is flat and straight across, with neat corners. It suits short to medium nails, and it is strong because the straight edge spreads pressure evenly. File straight across the tip, then soften the corners slightly. Square nails look neat and modern, and they suit people who type all day.
Oval: The tip is a soft curve. It is the most forgiving shape for beginners, because it follows the natural curve of the fingertip. It suits short and long nails, and it rarely breaks. File the sides straight, then round the tip in a smooth curve. Oval is a safe choice if you are unsure which shape to pick.
Coffin: Also called ballerina, this shape is long, with straight tapered sides and a flat tip. It needs long nails, and it suits bold colours and nail art. File the sides at a clear angle towards the centre, then file the tip flat. Coffin nails are a fashion statement, but they are the most likely shape to break during everyday tasks.
If your nails are short, start with oval or square. Both shapes work well at short lengths and grow out neatly. You can move to almond or coffin later, once your nails have grown. Whatever shape you choose, keep all ten nails the same length and shape.
Common Mistakes and How to Fix Them
Most home manicure problems come from a few simple mistakes, and all of them are easy to fix.
Skipping the base coat. Without one, dark polish can stain the nail yellow, and polish peels sooner. Always use one thin layer, even if you are in a hurry.
Applying coats that are too thick. Thick coats dry slowly, trap air bubbles, and chip fast. Use thin coats and let each one dry. Two thin coats beat one thick coat.
Polishing over oily nails. Hand cream, cuticle oil, and natural skin oils stop polish from sticking. Wipe each nail clean before the base coat, and save oil and cream for the end.
Cutting the cuticles. Cuticles protect the nail bed. Cutting them causes soreness and can lead to infection. Push them back gently after a soak instead.
Filing back and forth. A sawing motion frays the nail edge and causes splitting. File in one direction only, with light strokes.
Forgetting the top coat. Top coat seals the colour and slows chipping. Reapply a fresh layer every two or three days to extend the life of your manicure.
Using nails as tools. Opening cans and scratching labels chips polish and breaks nails. Use your fingertips or a tool instead, and wear gloves for washing up and cleaning.
Peeling polish off. Peeling polish, especially gel, pulls thin layers from the nail surface and leaves it weak and flaky. Always remove polish with remover and cotton pads.
Painting in bad light. Poor light hides smudges and uneven edges. Paint near a window or under a bright lamp so you can see what you are doing.
How Long It Lasts, and How to Make It Last
A regular polish manicure usually lasts five to seven days. A gel polish manicure usually lasts two to three weeks. How long yours lasts depends on your prep, your daily habits, and how often your hands are in water.
Good prep is the first way to make a manicure last. Clean nails, a base coat, and thin coats help polish bond properly. Capping the free edge with top coat also matters, because chips usually start at the tip.
Daily care keeps the manicure going. Apply cuticle oil every day to stop the skin drying out. Reapply top coat every two or three days to refresh the shine and seal small chips. Wear gloves for washing up, cleaning, and gardening. Hot water and cleaning products are hard on polish.
Small habits add up too. Avoid using your nails to open tins or scrape stickers. Keep your hands moisturised, because dry nails and cuticles are more likely to split. If one nail chips, fix it early. Dab a little polish on the chipped spot, let it dry, and add top coat. A quick repair buys you two or three more days.
When the manicure has run its course, remove it properly. Soak a cotton pad in remover, press it on the nail, and wipe the polish away. Then give your nails a rest day with cuticle oil and hand cream before your next manicure. For a full beauty refresh, our guide to makeup products for beginners helps you build a simple, affordable makeup routine to match.
Salon vs Home: The Cost Comparison
The biggest reason to learn an at-home manicure is the saving. A salon manicure is a treat, but the cost adds up when you go every two weeks. At home, you pay once for a kit, and then each manicure costs very little. The table below compares the two options using broad typical UK salon price ranges. Prices vary by area, and London salons usually charge more than high-street salons elsewhere.
| Item | Salon | At home |
|---|---|---|
| Basic manicure with regular polish | About £15 to £40 per visit | One-off kit cost, then very little per manicure |
| Gel manicure | About £25 to £50 per visit | Kit plus lamp as a one-off cost, then gel polish per bottle |
| Polish removal | Often charged separately, or included with a new set | Included, with remover you already own |
| How often you pay | Every visit, every two to three weeks | Once for the kit, then only for replacement polish |
| Time | Travel plus appointment time | 30 to 45 minutes at home, on your own schedule |
| Choice of colour | Limited to the salon range | Any colours you own, change when you like |
Think of it over a year. A regular salon manicure every two to three weeks costs hundreds of pounds across twelve months. The same habit at home costs the price of one starter kit and a few replacement polishes. The salon still has its place. A special occasion or a luxury treatment is worth paying for. For everyday neat nails, though, the home manicure wins on cost, and on convenience too.
Frequently Asked Questions
How long does an at-home manicure take?
Set aside 30 to 45 minutes for a full at-home manicure with regular polish. Prep takes about 15 minutes, and painting and drying take the rest. Your first few manicures may take a little longer while you learn the steps.
Can I do a manicure without a base coat?
You can, but do not make a habit of it. Base coat protects the nail from staining, helps polish stick, and makes removal easier. If you have none, use a clear top coat as a stand-in for one manicure, and buy a proper base coat before your next one.
How often should I do an at-home manicure?
Every one to two weeks is a good rhythm for regular polish. That keeps nails neat, and it gives your nails a rest between polishes. If your polish chips sooner, fix the chip with a quick touch-up instead of redoing all ten nails.
Why does my nail polish chip so quickly?
Chipping usually comes from oily nails before painting, coats that are too thick, or no top coat. Wipe each nail clean before the base coat, use thin coats, cap the free edge with top coat, and wear gloves for washing up.
Is gel polish safe for beginners to use at home?
Gel polish is safe at home if you follow the product and lamp instructions carefully. Keep gel off your skin, cure each coat for the full recommended time, and remove it by soaking, never by peeling. If you are unsure, start with regular polish and try gel later, once you are confident with the basic steps.
What is the best nail shape for short nails?
Oval and square are the best shapes for short nails. Oval follows the natural fingertip and rarely breaks. Square looks neat and is strong at short lengths. Both grow out well, so you can move to almond later, once your nails are longer.
An at-home manicure is a small skill with a big payoff. Once you know the order of steps, a neat manicure takes less than an hour, costs very little, and makes your hands look cared for every day. Start with the basic kit, practise the thin-coat habit, and let your nails rest between manicures.